Inhaltsverzeichnis
Analogue Clock
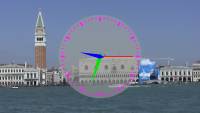
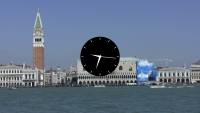
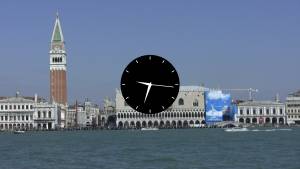
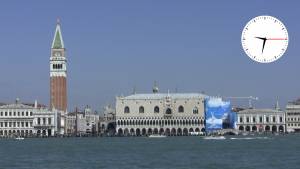
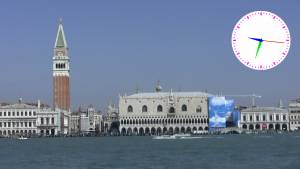
The analogue clock effect prints an analogue clock on the video image. The clock runs in realtime when the video runs. The clock can count up or down. A starttime can be set, where the clock starts running and a stop time where the clock stops. The accuracy of the start and stop time is up to 1 millisecond.
Installation
The analogue clock effect is included in the ClockDisplay RTFxV2-plugin. You can find the latest version here.
Parameters
Position/Size
Determines the X- and Y-Position of the clock and the size.
Start Time
Normally the clock starts at the beginning of each clip with the time 00:00:00.
With the Start Time sliders the starttime of the clock can be changed to any value of the day.
There are sliders for
- hour - 0 to 23
- minute - 0 to 59
- seconds - 0 to 59
Stop Time
With the Stop Time sliders a stop time for the clock can be set.

There are sliders for
* hour - 0 to 23
* minute - 0 to 59
* seconds - 0 to 59
The clock stops exactly at the specified time.
If the clock runs forward the stop time has to be higher than the start time.
Otherwise the clock will not start running.
If the clock runs backwards the stop time has to be lower than the start time.
Otherwise the clock will not start running.
Time Parameters
- Count Down
When this check box is set, the clock runs backwards from start time down to 0 or to the Stop Time.
- Speed Factor
this slider allows to accelerate or slow down the clock.
Positive values are multiplied - i.e 10 = 10 times normal speed
Negative values are divided - i.e. -10 = 1/10th of normal speed
- Time base
defines if the displayed time is based on the elapsed time from the start of the clip
the effect is attached to or   is based on the time from the start of the movie.
Be careful when using this parameter.
When the clip with the clock effect is moved on the timeline and the time base is set
to "MOVIE" the time displayed by the clock changes according to the position on the timeline.
This is due to the fact that the time displayed by the clock is derived from the timecode
of the frame on the timeline.
Colors
Determines the foreground or background colors of the clock. The colors are in RGB values. They can be set via via the color selection tool or the eyedropper tool.
- Foreground Color
Color of the clock handles.
- Foreground Opacity
Opacity of the foreground (0 = transparent, 100 = fully opaque)
- Background Color
Color of the background
- Background Opacity
Opacity of the background (0 = transparent, 100 = fully opaque)
- Show Background
When „Show Background“ is switched off the background is not visible anymore.
Second Hand Parameters
- Show Second Hand
When „Show Second Hand“ is switched off the Second Hand is not visible anymore.
- Color
Here you can set an individual color for the Second Hand. This color becomes active
when the parameter "Use Color" is selected.
* Use Color
When this parameter is selected the individual color set for the "Second Hand" becomes active.
* Width
Determines the width of the Second Hand
* Length
Determines the length of the Second Hand
Minute Hand Parameters
- Show Minute Hand
When „Show Minute Hand“ is switched off the Minute Hand is not visible anymore.
- Color
Here you can set an individual color for the Minute Hand. This color becomes active
when the parameter "Use Color" is selected.
* Use Color
When this parameter is selected the individual color set for the "Minute Hand" becomes active.
* Length
Determines the length of the Minute Hand
Hour Hand Parameters
- Show Hour Hand
When „Show Hour Hand“ is switched off the Hour Hand is not visible anymore.
- Color
Here you can set an individual color for the Hour Hand. This color becomes active
when the parameter "Use Color" is selected.
* Use Color
When this parameter is selected the individual color set for the "Hour Hand" becomes active.
* Length
Determines the length of the Hour Hand
Point Parameters
- Show Point
When „Show Points“ is switched off the Points are not visible anymore.
- Show Minor Point
When „Show Minor Points“ is switched off the Minor Points are not visible anymore.
- Color
Here you can set an individual color for the Points. This color becomes active
when the parameter "Use Color" is selected.
* Use Color
When this parameter is selected the individual color set for the "Points" becomes active.
* Width
Determines the width of the Points
* Length
Determines the length of the Points
